Recently, I explored TestKube for a project involving service mesh provisioning verification in Kubernetes clusters. As I’ll be using TestKube extensively, I’m creating this guide for both myself and my blog readers.
Below is a structured overview of the TestKube hands-on lab, divided into four sessions:
- Installing Testkube and Running Tests
- Setting Up Alerts with Webhooks
- Creating Various Tests
- Integrating CI/CD with ArgoCD, GitHub, and GitLab
For this project, we are utilizing these github repositories:
🤔 What is TestKube?
TestKube is a free, open-source tool designed to simplify and automate the testing of Kubernetes-native applications. It provides a unified platform for managing and running tests, ensuring that applications perform reliably within Kubernetes clusters.
🛠️ Setup
Before installing TestKube, make sure you have the following prerequisites:
- Helm
- kubectl
- A Kubernetes cluster (using tools like Minikube, Kind, or K3s)
1. Create a Testkube Account
Visit Testkube to create an account and set up your environment.
2. Create a cluster
minikube start --cpus=3 --memory=5200mb --driver=hyperkit
3. Install testkube CLI
Next, we should install the TestKube CLI, which can be easily done using Homebrew.
brew install testkube
testkube

████████ ███████ ███████ ████████ ██   ██ ██    ██ ██████  ███████
   ██    ██      ██         ██    ██  ██  ██    ██ ██   ██ ██
   ██    █████   ███████    ██    █████   ██    ██ ██████  █████
   ██    ██           ██    ██    ██  ██  ██    ██ ██   ██ ██
   ██    ███████ ███████    ██    ██   ██  ██████  ██████  ███████
                                           /tɛst kjub/ by Kubeshop


Usage:
  testkube [flags]
  testkube [command]

...
4. Install Testkube in Your Cluster
Deploy Testkube using the Helm chart.
export NAMESPACE=testkube
export TK_ORG_ID="tkcorg_xxx"
export TK_ENV_ID="tkcenv_xxx"
export TK_KEY="tkcagnt_xxx"

kubectl create namespace ${NAMESPACE}
helm repo add kubeshop https://kubeshop.github.io/helm-charts
helm repo update

# deactivate minio, mongodb, dashboard
helm install testkube kubeshop/testkube \
  --set testkube-api.cloud.key=${TK_KEY} \
  --set testkube-api.cloud.orgId=${TK_ORG_ID} \
  --set testkube-api.cloud.envId=${TK_ENV_ID} \
  --set testkube-api.minio.enabled=false \
  --set mongodb.enabled=false \
  --set testkube-dashboard.enabled=false \
  --set testkube-api.cloud.url=agent.testkube.io:443 \
  --namespace ${NAMESPACE}
Components:
- MinIO: Object storage solution with an S3-compatible API.
- MongoDB: Stores TestKube test results and configuration.
- Dashboard: Web-based UI for monitoring TestKube results.
Testkube API (testkube-api-server) and Agent API (operator-controller-manager) are successfully deployed:
kubectl get deployment -n ${NAMESPACE}

NAME                                   READY   UP-TO-DATE   AVAILABLE   AGE
testkube-api-server                    1/1     1            1           39m
testkube-operator-controller-manager   1/1     1            1           39m
🚨 Open Dashboard
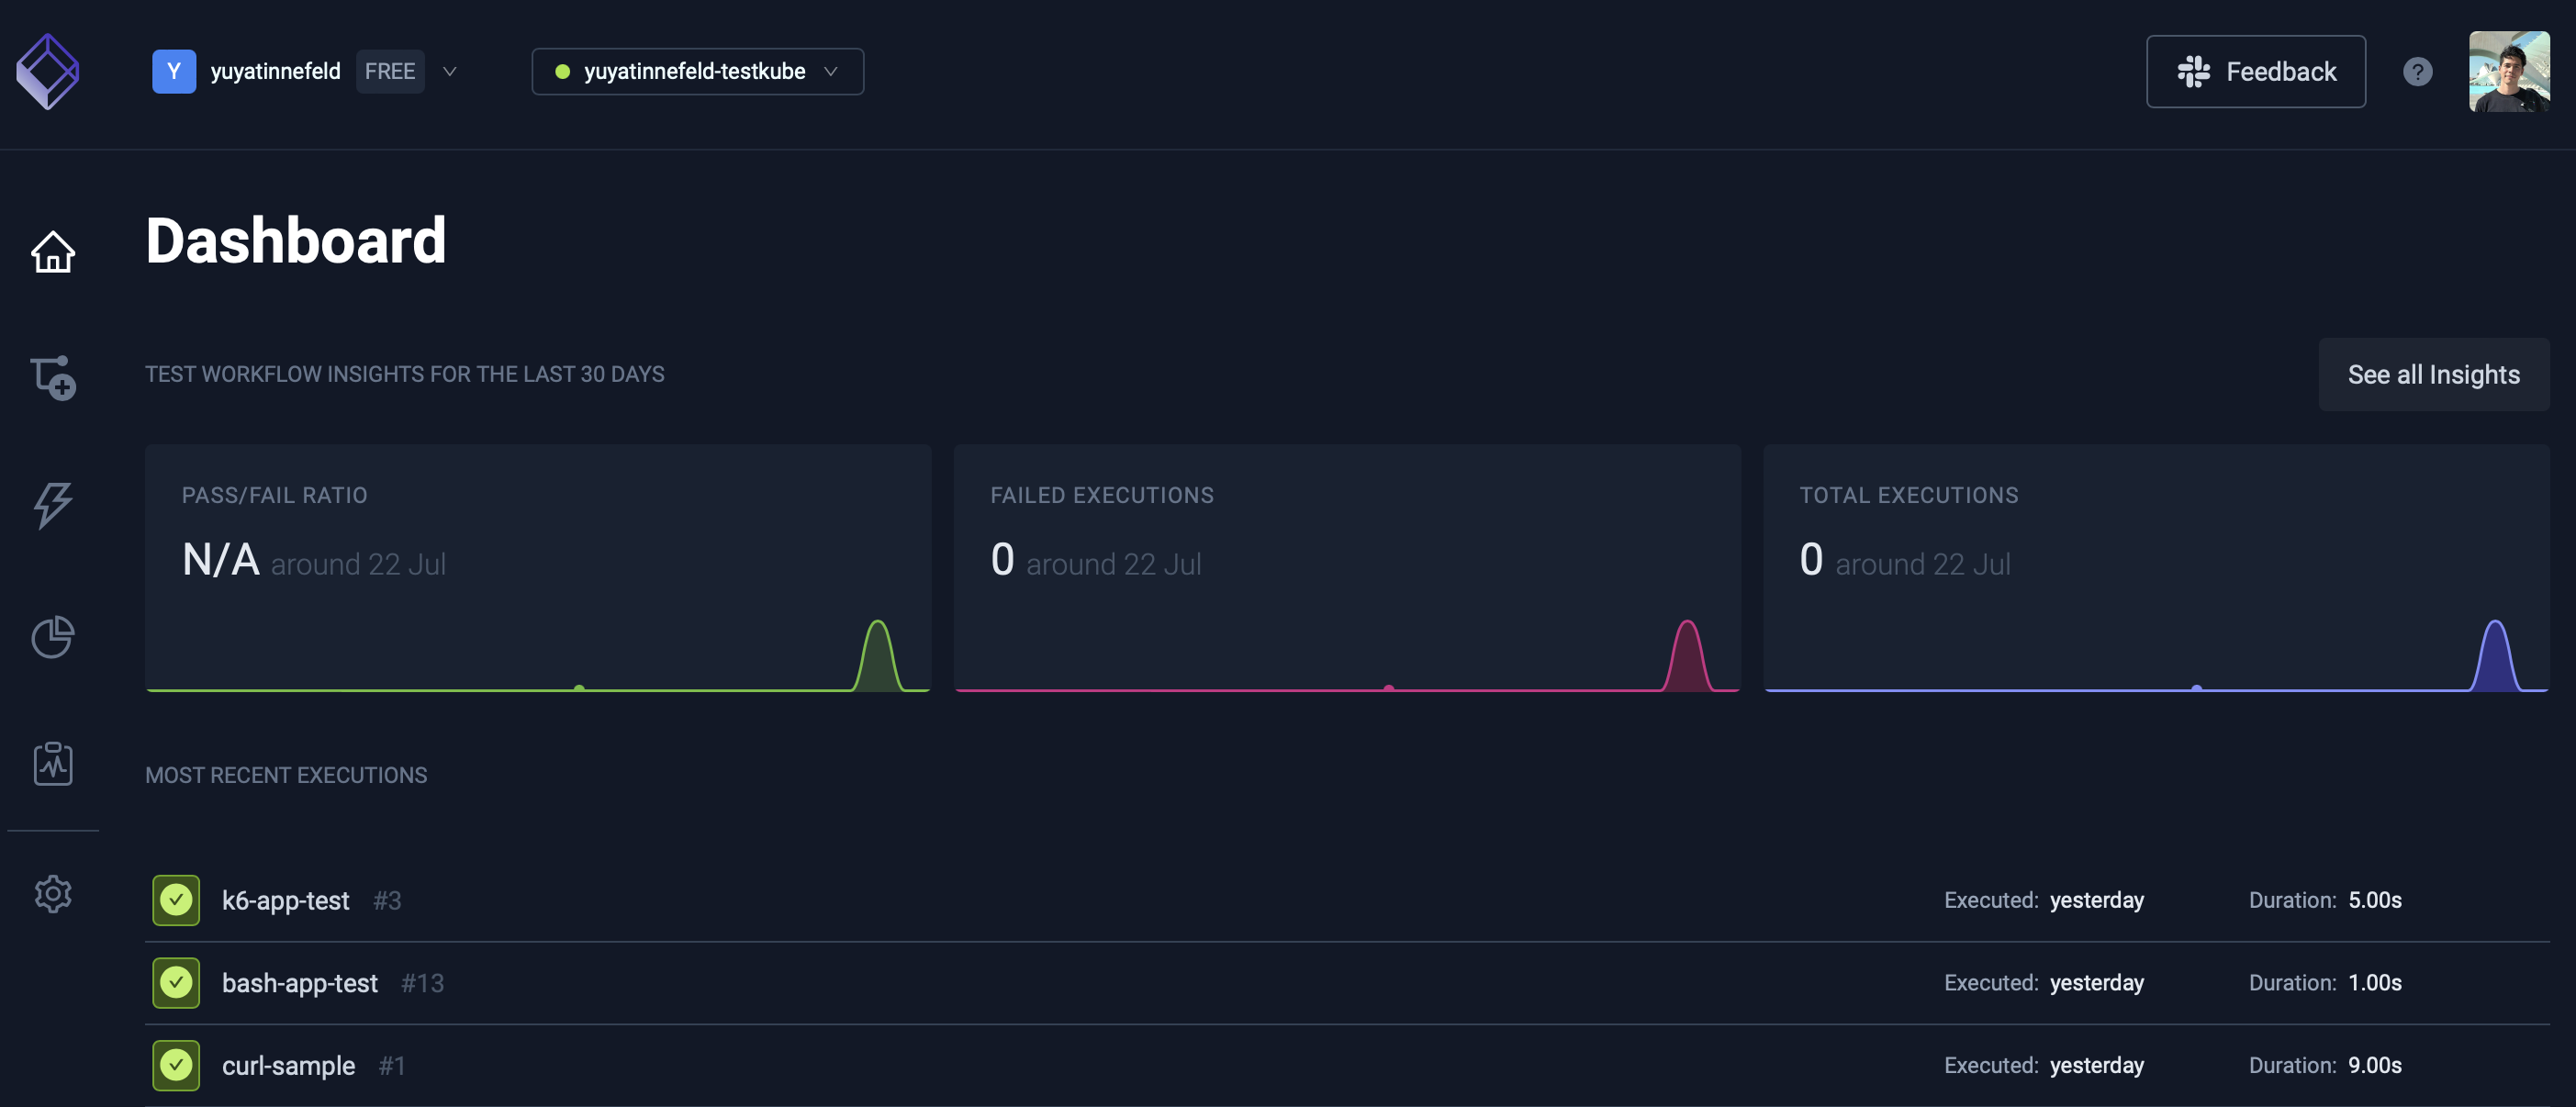
The URL to access the Testkube Pro Dashboard is: https://app.testkube.io/organization/YOUR-ORGANIZATION/environment/YOUR-ENVIRONMENT/dashboard/home
🚀 Deploy Test Target
Deploy a basic Nginx application in your Kubernetes cluster and verify its functionality.
1. Deploy the Nginx Application
NAMESPACE=default
kubectl apply -f app/depl.yaml
2. Verify the Deployment
Create a temporary pod to test the Nginx application:
kubectl run mycurlpod --image=curlimages/curl -i --tty -- sh
Within the mycurlpod shell, execute:
curl http://nginx.default.svc.cluster.local:8888
3. Clean Up
Exit the mycurlpod shell and delete the pod:
exit
kubectl delete pod mycurlpod
⚡️ Run Simple Tests
# create a test
export MY_CURL_TEST=curl-app-test
export MY_BASH_TEST=bash-app-test
export MY_K6_TEST=k6-app-test

testkube create testworkflow -f tests/curl-test.yaml # = k apply -f tests/curl-test.yaml
testkube create testworkflow -f tests/bash-test.yaml # = k apply -f tests/bash-test.yaml
testkube create testworkflow -f tests/k6-test.yaml # = k apply -f tests/bash-test.yaml

# check test
testkube get testworkflow # = k get testworkflow.testworkflows.testkube.io -n testkube

# check details
testkube get testworkflow $MY_CURL_TEST

# run test
testkube run testworkflow $MY_CURL_TEST
testkube run testworkflow $MY_BASH_TEST
testkube run testworkflow $MY_K6_TEST


# see the test result
execID=66ace5f50f0acae353039a6e
kubectl testkube get twe $execID

# delete test
testkube delete testworkflow $MY_CURL_TEST
testkube delete testworkflow $MY_BASH_TEST
testkube delete testworkflow $MY_K6_TEST
🧹 Clean up
helm
minikube delete --purge
ℹ️ Summary
TestKube is an efficient tool for integrating with various CI/CD pipelines. By using Kubernetes Custom Resource Definitions (CRDs), TestKube offers a cloud-native method for managing and running tests. This article highlighted TestKube’s core features and demonstrated a basic test setup. With its support for complex testing scenarios and custom executors, TestKube provides extensive flexibility. In the next session, we’ll explore how to integrate alerting with webhooks. Stay tuned!